

Get started
This page takes you from a new machine to a server people can sign in to: install the server, open the admin, and go through the setup wizard.
Install the server
Section titled “Install the server”The server runs on Windows, macOS and Linux. All downloads, including portable versions, are on the Download page.
Download the installer (.msi) and open it. Windows SmartScreen warns about it because it is not code-signed yet; check its checksum, then choose More info and Run anyway.
The installer asks for two ports under Server ports and firewall:
- Server TCP port, 9080 by default. The app, the web app and the admin all use it.
- TURN UDP port, 9443 by default, for audio through firewalls. It is the same number as the HTTPS port on purpose: forward 9443 on TCP and UDP and both work.
Leave Allow livematrix server through Windows Firewall ticked. The
server installs as a Windows service that starts with the machine. Its data
is in C:\ProgramData\livematrix and stays when you uninstall.
Download the disk image (.dmg), open it and drag livematrix server to Applications. Then open it from Applications, logged in as the user the server should run for. It starts the server, adds it to Login Items, says so in a notification and opens the management page in the browser. Opening the app again opens the page again.
The server uses TCP port 9080, and 9443 on TCP (HTTPS) and UDP (TURN). If one is taken, the app says so and starts nothing. When macOS asks whether livematrix server may accept incoming connections, allow it. The server runs while that user is logged in; on a dedicated Mac, turn on automatic login.
The livematrix server icon in the menu bar has Open Admin, Server Status, Configure Ports… for the HTTP, HTTPS and TURN ports, Restart Server…, Stop Server… and Start at Login.
Run this on the server machine:
curl -fsSL https://console.livematrix.io/install-docker.sh | bashIt installs Docker if the machine has none, then runs the server as a container that starts with the machine. It opens TCP port 9080 and 9443 on TCP and UDP in ufw or firewalld, if one is on. At the end it prints the address of the admin. The server updates itself from the admin.
Its setup is in /opt/livematrix/server/compose.yaml. For options,
such as a bridge on another machine, and for everything else about it,
see Run in Docker. To install the
package (.deb) without Docker instead, run
sudo apt-get install ./livematrix-server_amd64.deb.
Routers and cloud firewalls are not changed by the installer. To let people reach the server from outside its network, see Network access, DNS and SSL.
Open the admin
Section titled “Open the admin”Open http://<server>:9080/admin/ in a browser, with the server’s address or
name for <server>. On the server machine itself, http://localhost:9080/admin/
works, and on a Mac Open Admin in the menu bar opens it.
A new server has no administrator and no default password, so the admin opens on the setup wizard.
Go through the setup wizard
Section titled “Go through the setup wizard”The wizard has five steps: Password, Name, Console, Access and Ready. Only the first is required. Every other step can be skipped and done later on its own page. If you close the browser halfway, the wizard picks up where the server is: at Name if the server is not connected to the console, at Access if it has no name yet, or at Ready.
1. Create the administrator
Section titled “1. Create the administrator”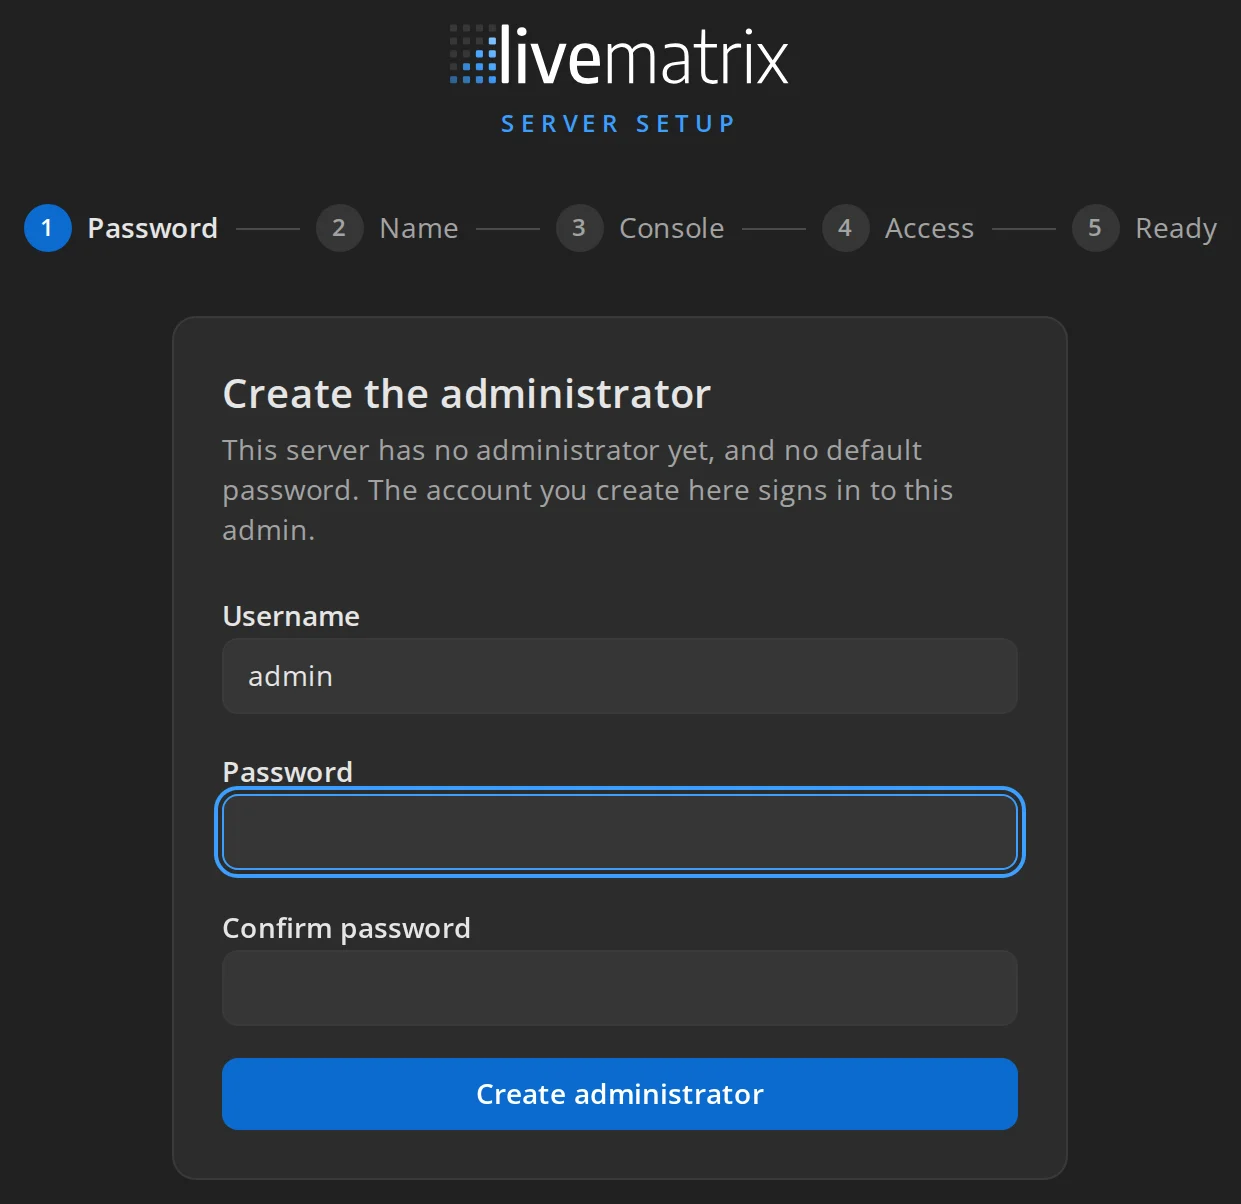
Choose a username (it starts as admin) and a password, type the password
again, and press Create administrator. This account signs in to the admin
from now on. Add more administrators later under
Users → Admin users.
To install without the wizard, for example in a script, set
LIVEMATRIX_ADMIN_PASSWORD (or LIVEMATRIX_ADMIN_PASSWORD_FILE, a file that
holds it) before the server starts for the first time. The server then creates
the administrator admin with that password. It never changes an
administrator that already exists.
2. Name the server
Section titled “2. Name the server”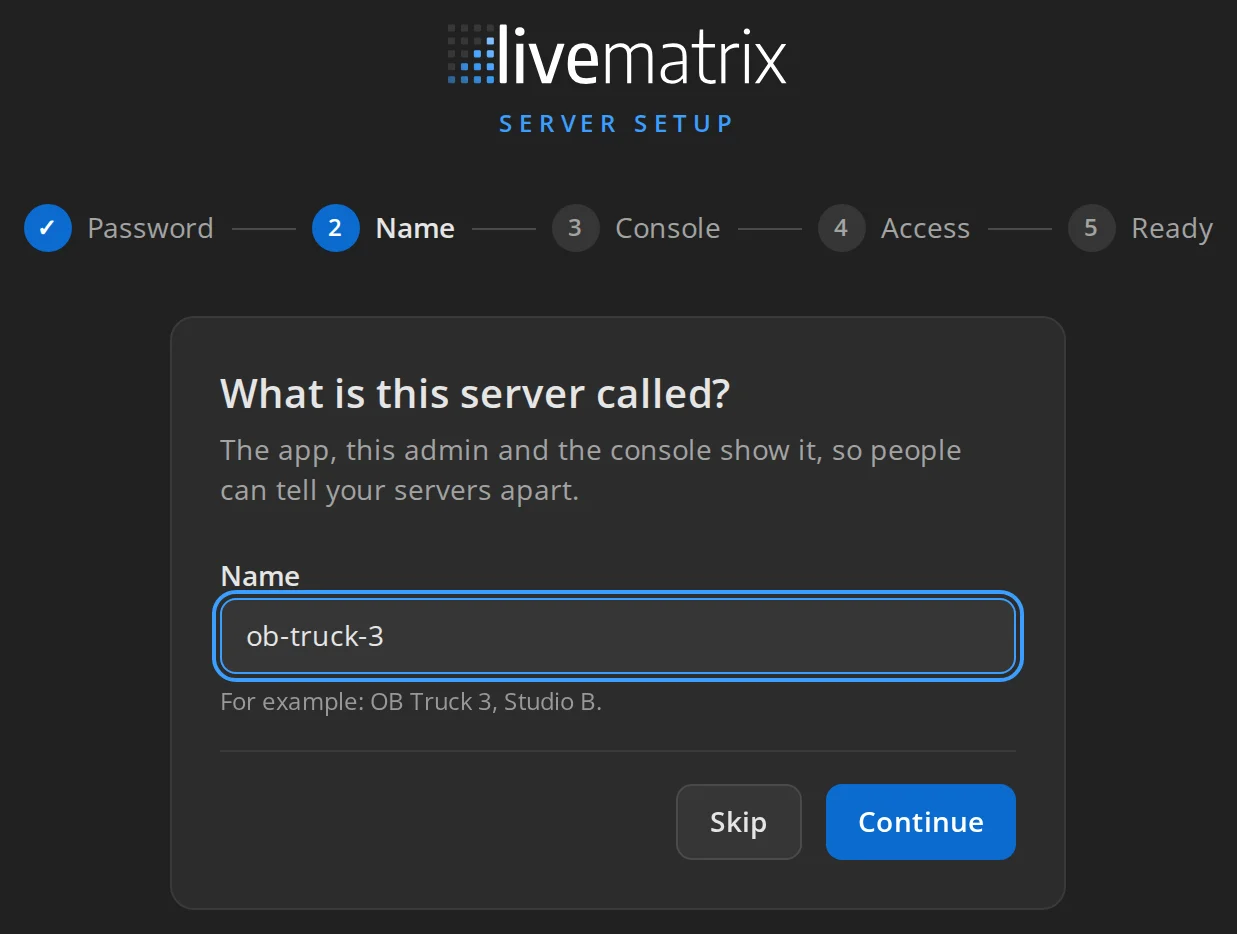
What is this server called? Type a name that tells your servers apart, such as OB Truck 3 or Studio B. The app, the admin and the console show it. The field starts with the machine’s name. Skip keeps it; you can change it later in Settings.
3. Connect to the console
Section titled “3. Connect to the console”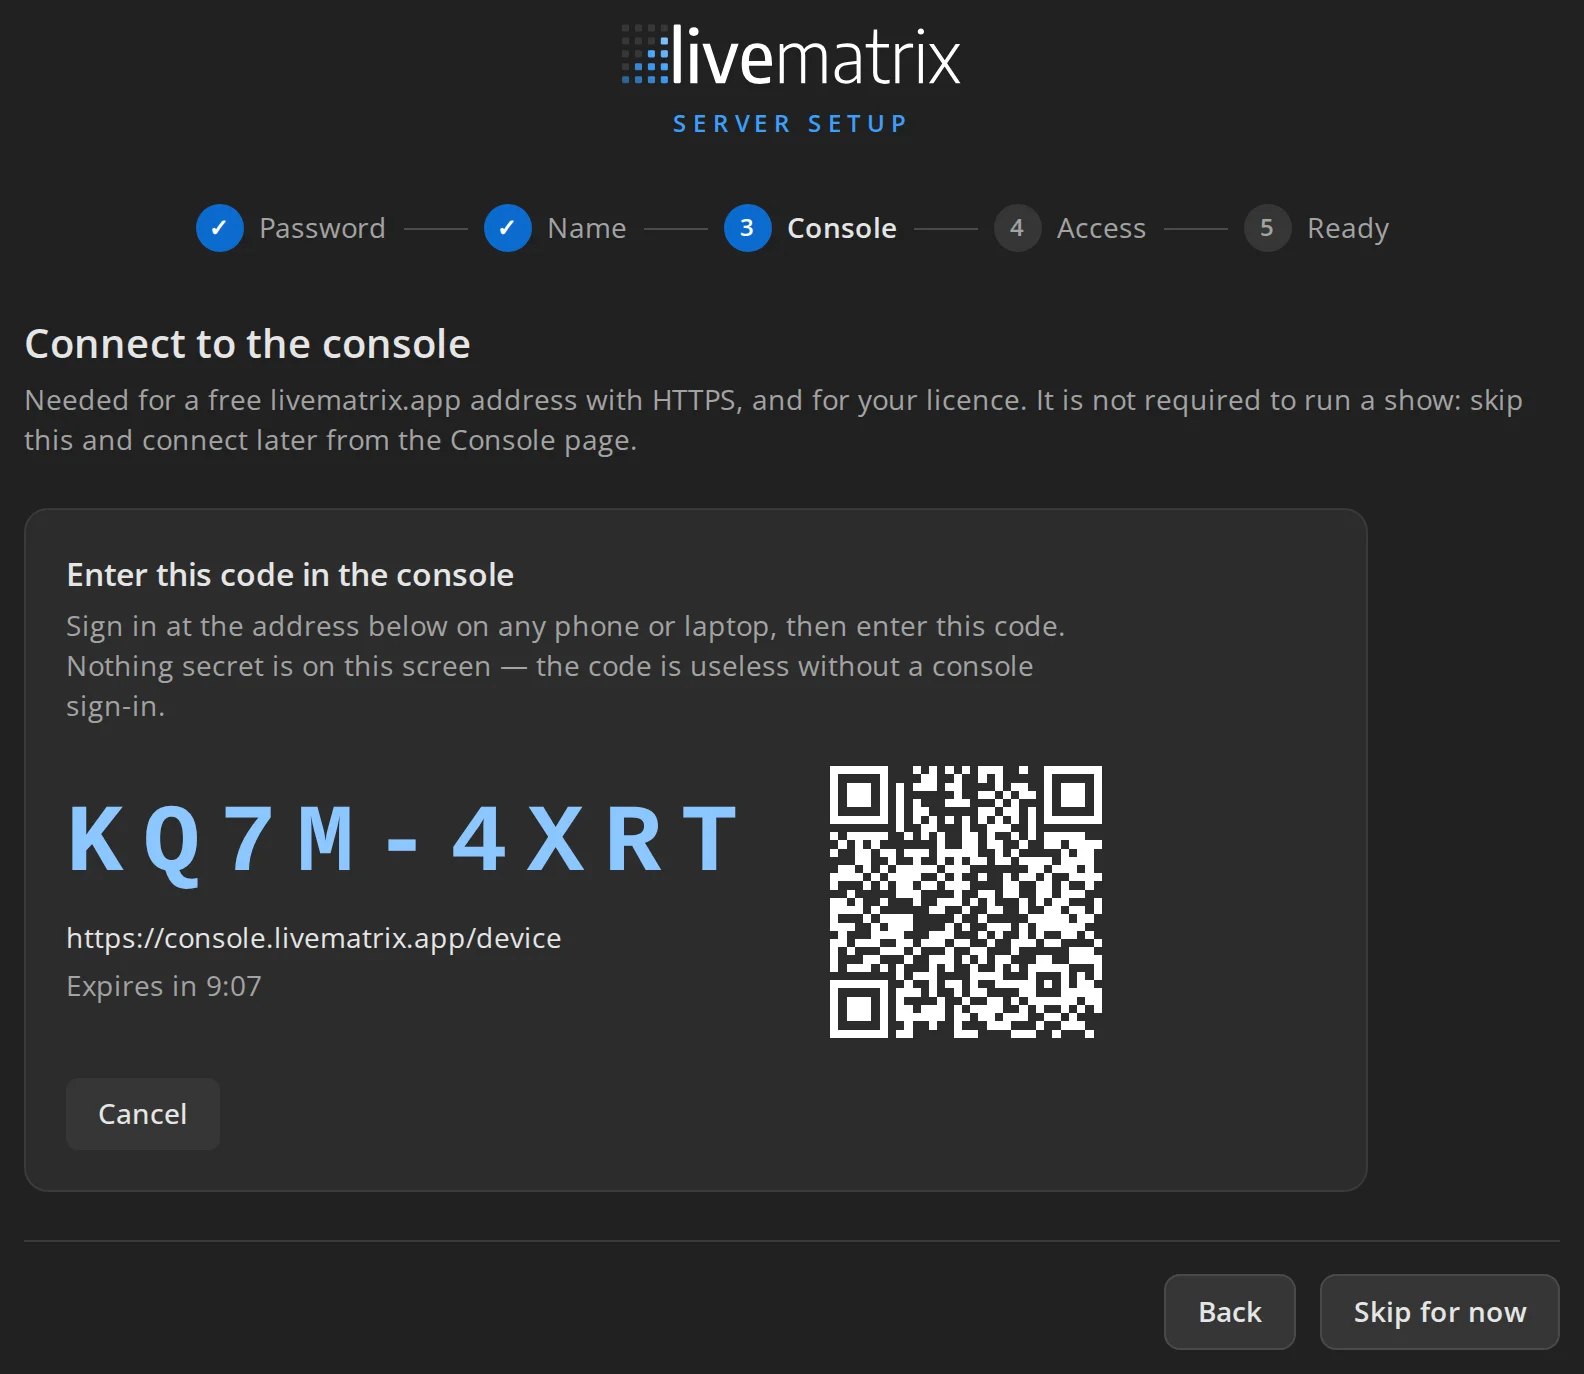
The livematrix console gives the server a free livematrix.app address with
HTTPS, and holds your licence. Press Connect to console. The server shows
a short code and a QR code. Open the address on any phone or computer, sign in
to the console and enter the code. The step moves on by itself once the
console has the server.
Skip for now goes on without the console. A server that is not connected works the same for audio, users and keys. See Console and licence.
4. Choose how people reach the server
Section titled “4. Choose how people reach the server”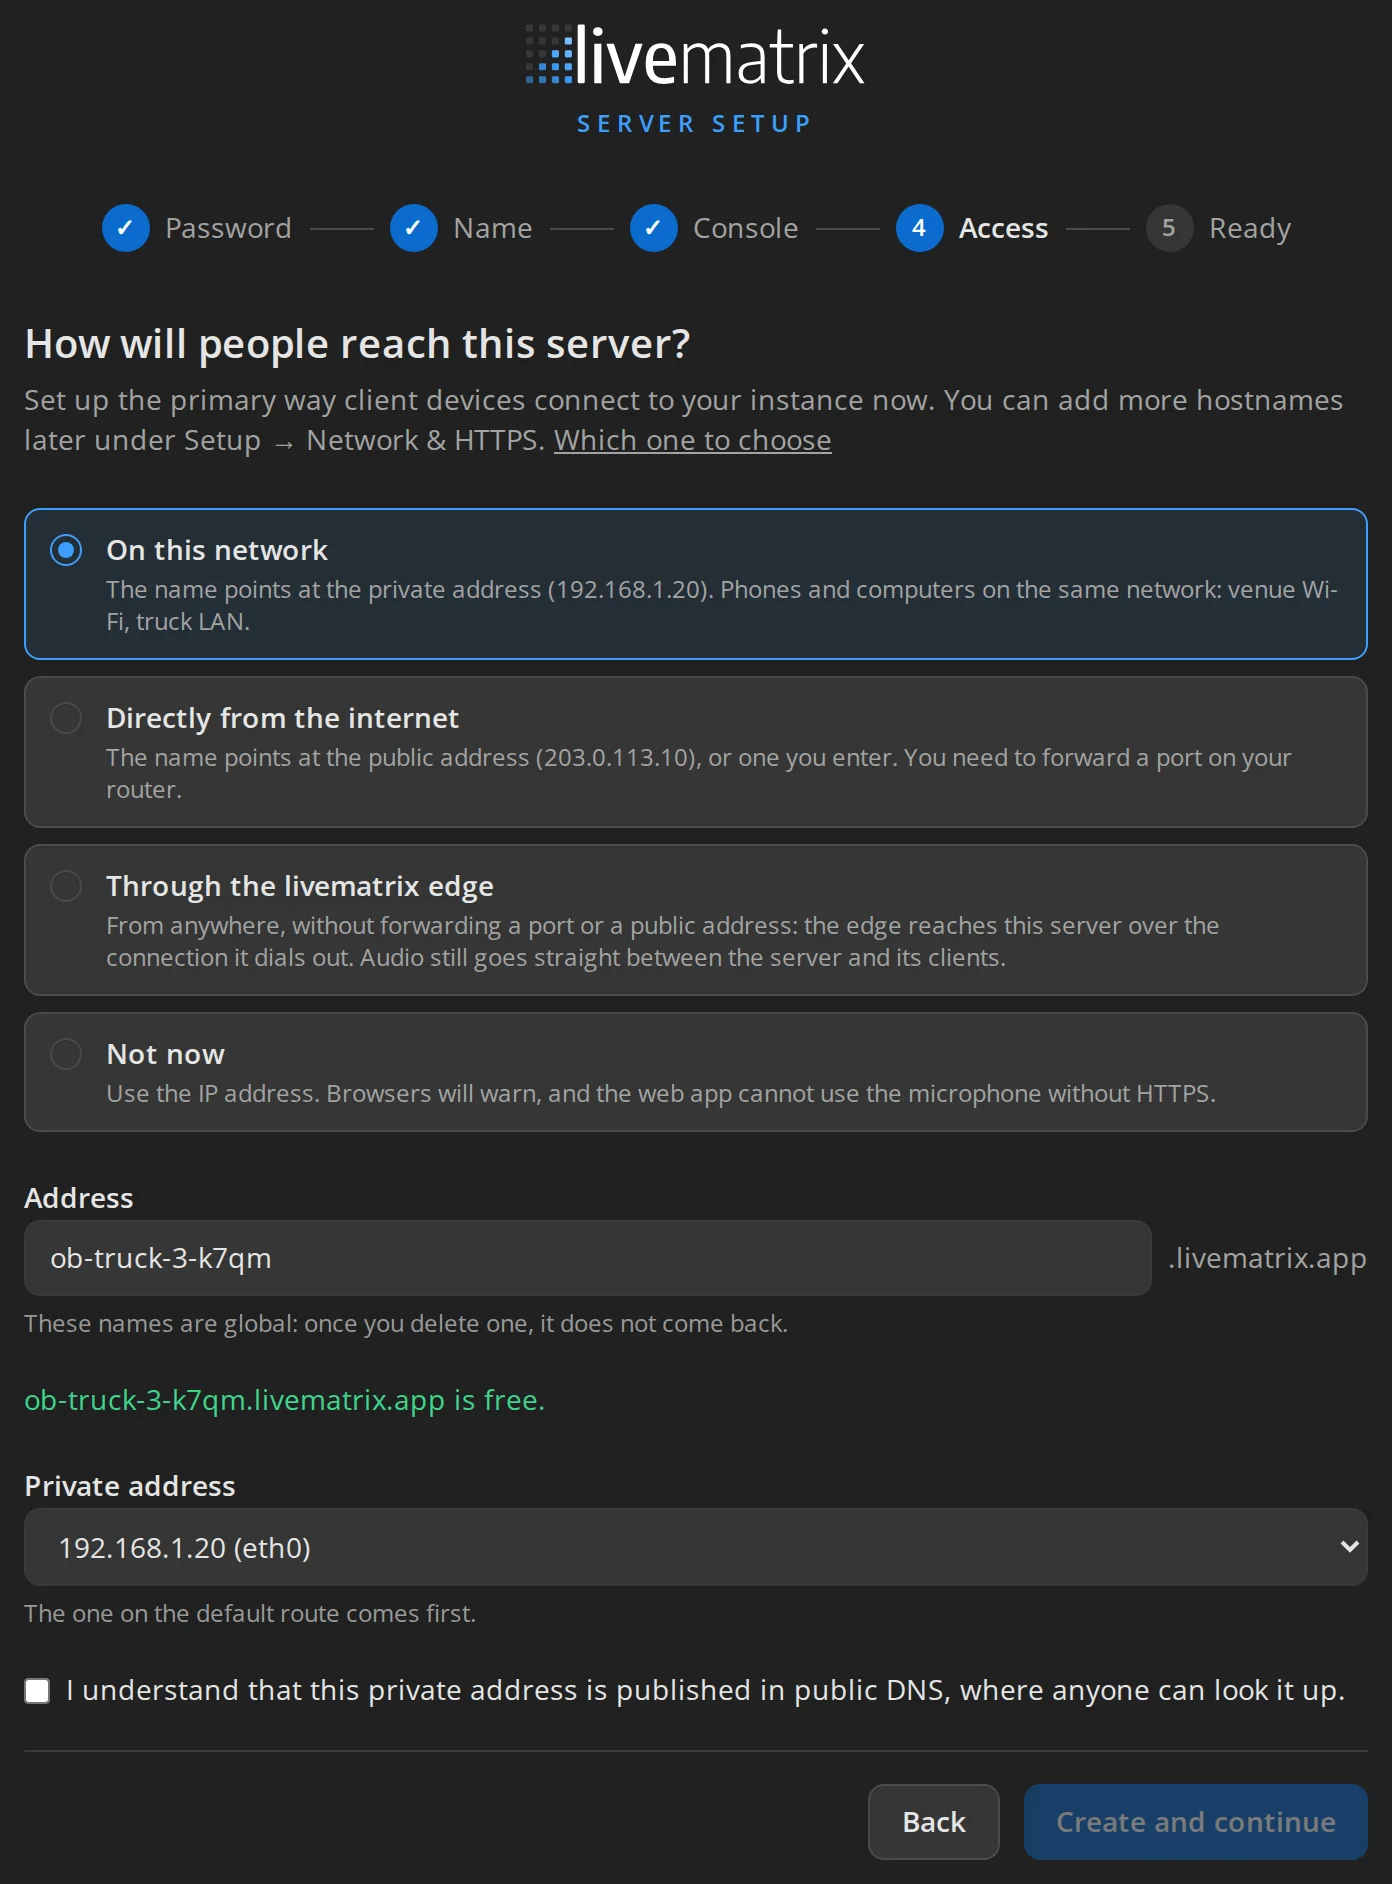
How will people reach this server? The server gets a name under
livematrix.app with a certificate, so phones and browsers open it over
HTTPS:
- On this network points the name at the server’s private address. Use it when everyone is on the same network as the server, such as the venue Wi-Fi or the truck LAN. Tick the box to confirm that the private address is published in public DNS.
- Directly from the internet points the name at the server’s public address. The step fills in the address the console sees; change it if the server is reached on another one. Forward the HTTPS port shown in the step on your router to this machine.
- Through the livematrix edge works from anywhere without forwarding a port or a public address: the server dials out to the edge, and the edge passes connections to it. Audio still goes straight between the server and its clients. See Through the livematrix edge.
- Not now uses the IP address. Browsers warn, and the web app cannot use the microphone without HTTPS.
Address starts with the server’s name. The step says while you type whether the name is free. Names are global, and nobody can register a name again once you delete it. Create and continue creates the name and goes on without waiting for DNS or the certificate.
All three name choices need the console. Without it, only Not now is available. More names and your own domains are under Network access, DNS and SSL.
5. Hand out the address
Section titled “5. Hand out the address”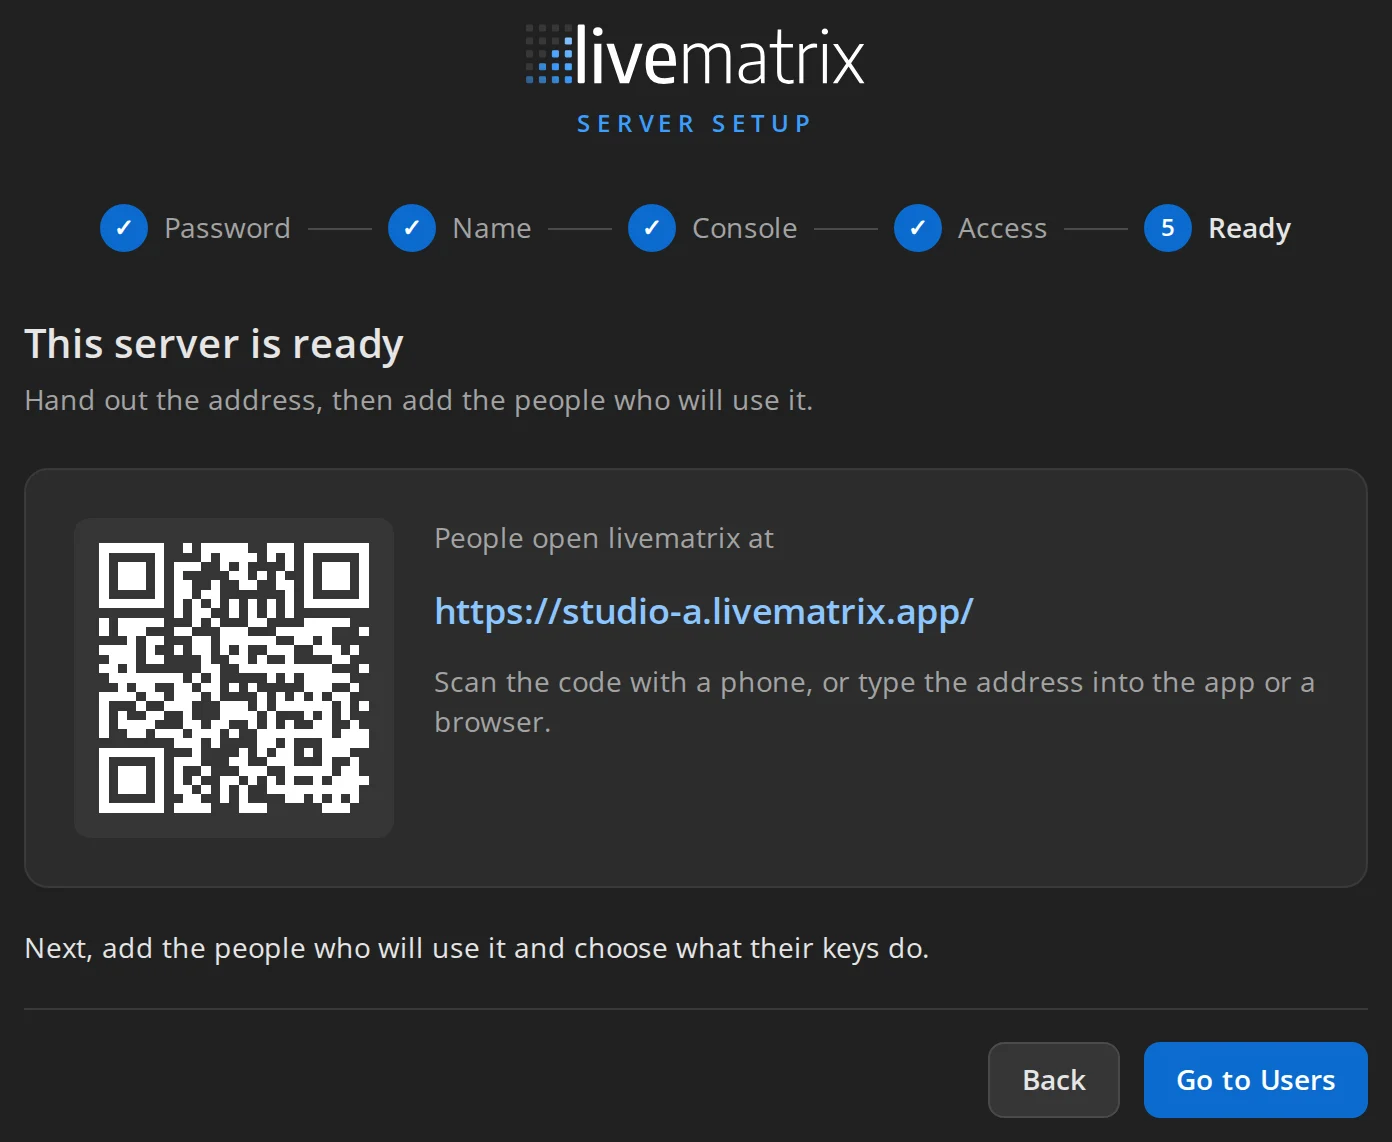
This server is ready shows the address people open, as a link and as a QR code. Scan the code with a phone, or type the address into the app or a browser. Go to Users finishes the wizard.
While the certificate is on its way, a chip at the top of every admin page follows it, for example ob-truck-3.livematrix.app · Issuing certificate. Go on with users and profiles in the meantime. Until it says is ready, the server answers HTTPS with a self-signed certificate, and browsers warn. If it says Needs attention, it leads to the problem.
Start with the demo setup
Section titled “Start with the demo setup”A new server comes with three users, user1 to user3, with the password
livematrix, a party line All Users and a Default Profile, so you can try
talking straight away. Remove them, or at least change their passwords,
before the server is reachable by others.
Then set the server up for your production:
- Create party lines, feeds and groups.
- Create profiles with the keys each role needs.
- Add the users and give each a profile.
- Connect sound cards and other intercoms with bridges.
- Watch who is connected on the Dashboard.